Week 2
Week 2 – URLs and Servers
Due Dates & Links
- Lab Report 1 - Due 10:00 pm Monday April 10, 2023
- Quiz 2 (will be released after class Monday) - Due 1:00 pm (just before class) Wednesday April 12, 2023
Lecture Materials
- Monday Lecture Handout (Slides)
- Monday Lecture Handout (PDF)
- Wednesday Lecture Handout (Slides)
- Wednesday Lecture Handout (PDF)
Lecture-Length Videos
This video about URLs takes the place of Monday’s lecture and helps get set up for Quiz 2:
Video Shorts
In-class notes
Links to Podcast
Note: Links will require you to log in as a UCSD student
Lab Tasks
As usual, you can read ahead and are encouraged to prepare! Keep in mind that the lab isn’t guaranteed to be final until the day of the lab, and a lot of the exercises are collaborative, so you can’t truly “finish it ahead of time”.
Today we’ll use some of what we learned about URLS to create a web server.
Meet Your New Group!
We have assigned you into groups that you will collaborate in for the rest of the quarter. When you arrive at your lab, see the screen at the front of the room to find your assigned seat.
Write down in notes – In your groups, share, and note in the running notes document (discussion leaders, you answer these as well!):
- How you’d like people to refer to you (pronounce your name/nickname, pronouns like he/her/they, etc)
- Your major
- One of:
- A UCSD student organization you’re a member of or interested in
- Your favorite place you’ve found on campus so far
- A useful campus shortcut or trick you know
- Your answer to the following question. Discuss why you chose that answer.
Getting Set Up
Downloading Java JDK
If you don’t have Java already installed, (CSE 12 students most likely already have) go ahead and download the latest Java JDK version from this Oracle link. Download the version that has “Installer” in the file name for your specific device (Linux, macOS, Windows).
Cloning with Github Desktop
There are many ways to download the code from your repository and upload changes. We will use Github Desktop to do this today, and see other options in the future. Even if you have some other preferred way to do this that you’ve used before, please do follow the tutorial! You may learn something new and useful.
Download the Desktop Client for Github. Install it, and log in with your Github account. The startup page should look something like this:
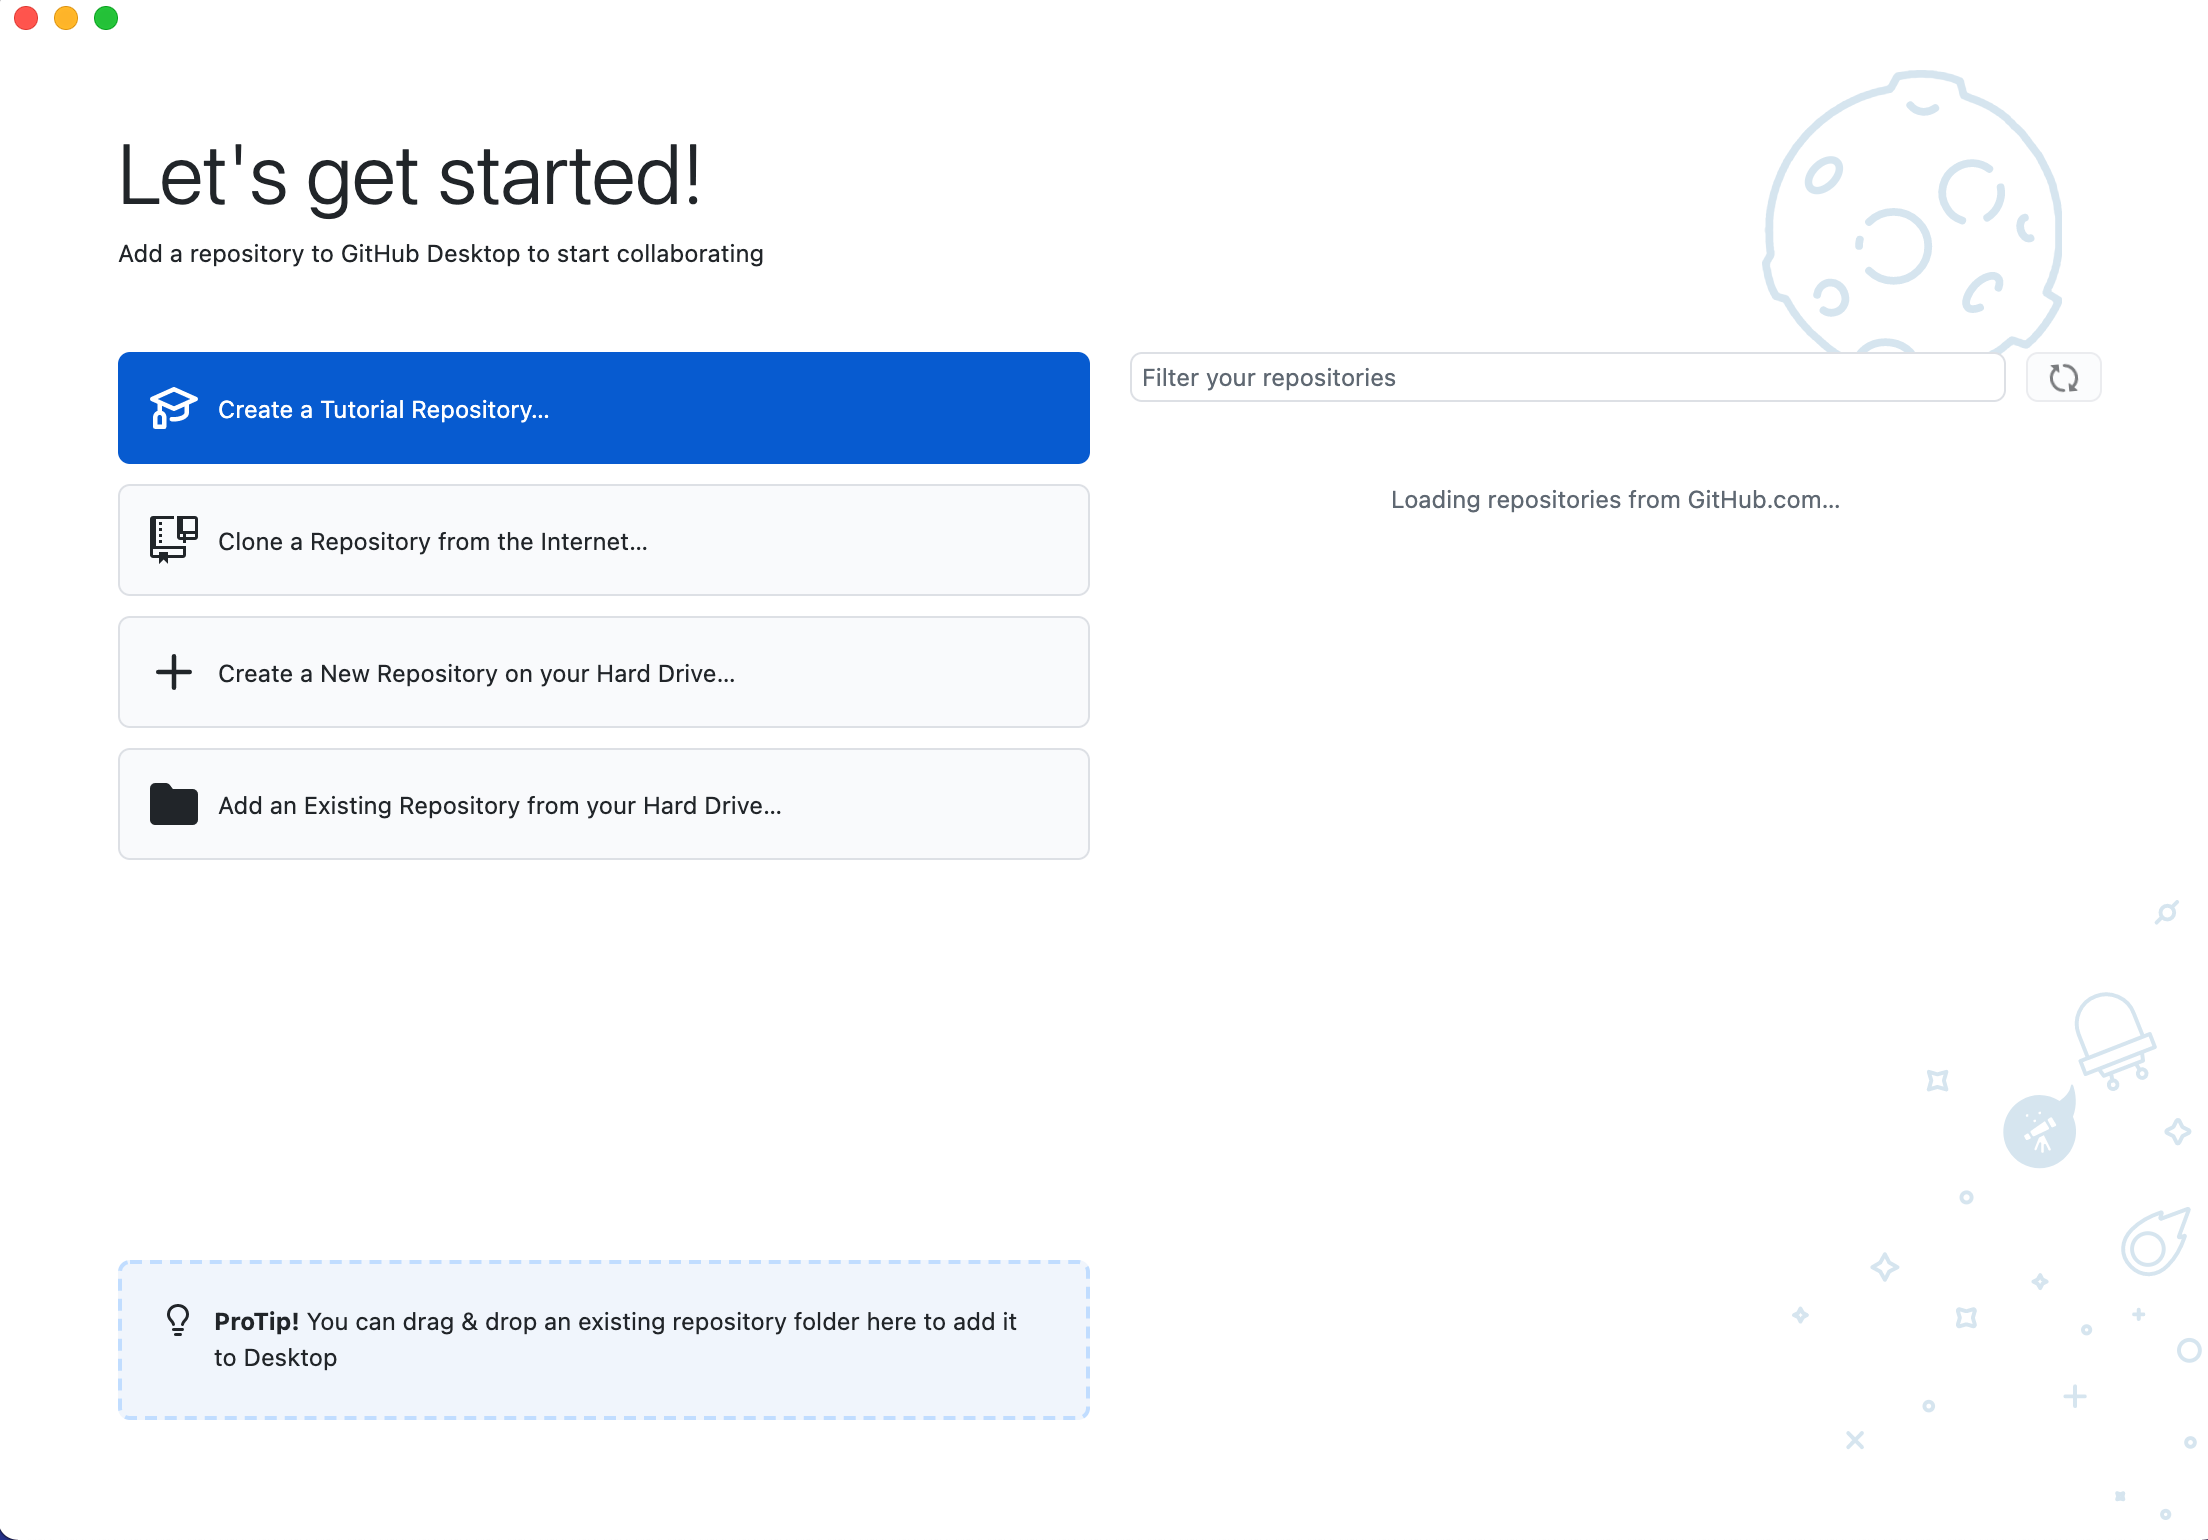
Then, you can get the code from your repository in one of several ways:
- On the repository page, there is a
<> Codebutton; you can click on that and choose “Open with Github Desktop” - From Github Desktop, you can choose “Clone a Repository from the Internet” and then choose your repository
To test it out, try cloning your lab reports repository. You’ll see a message about cloning, and then see this page:
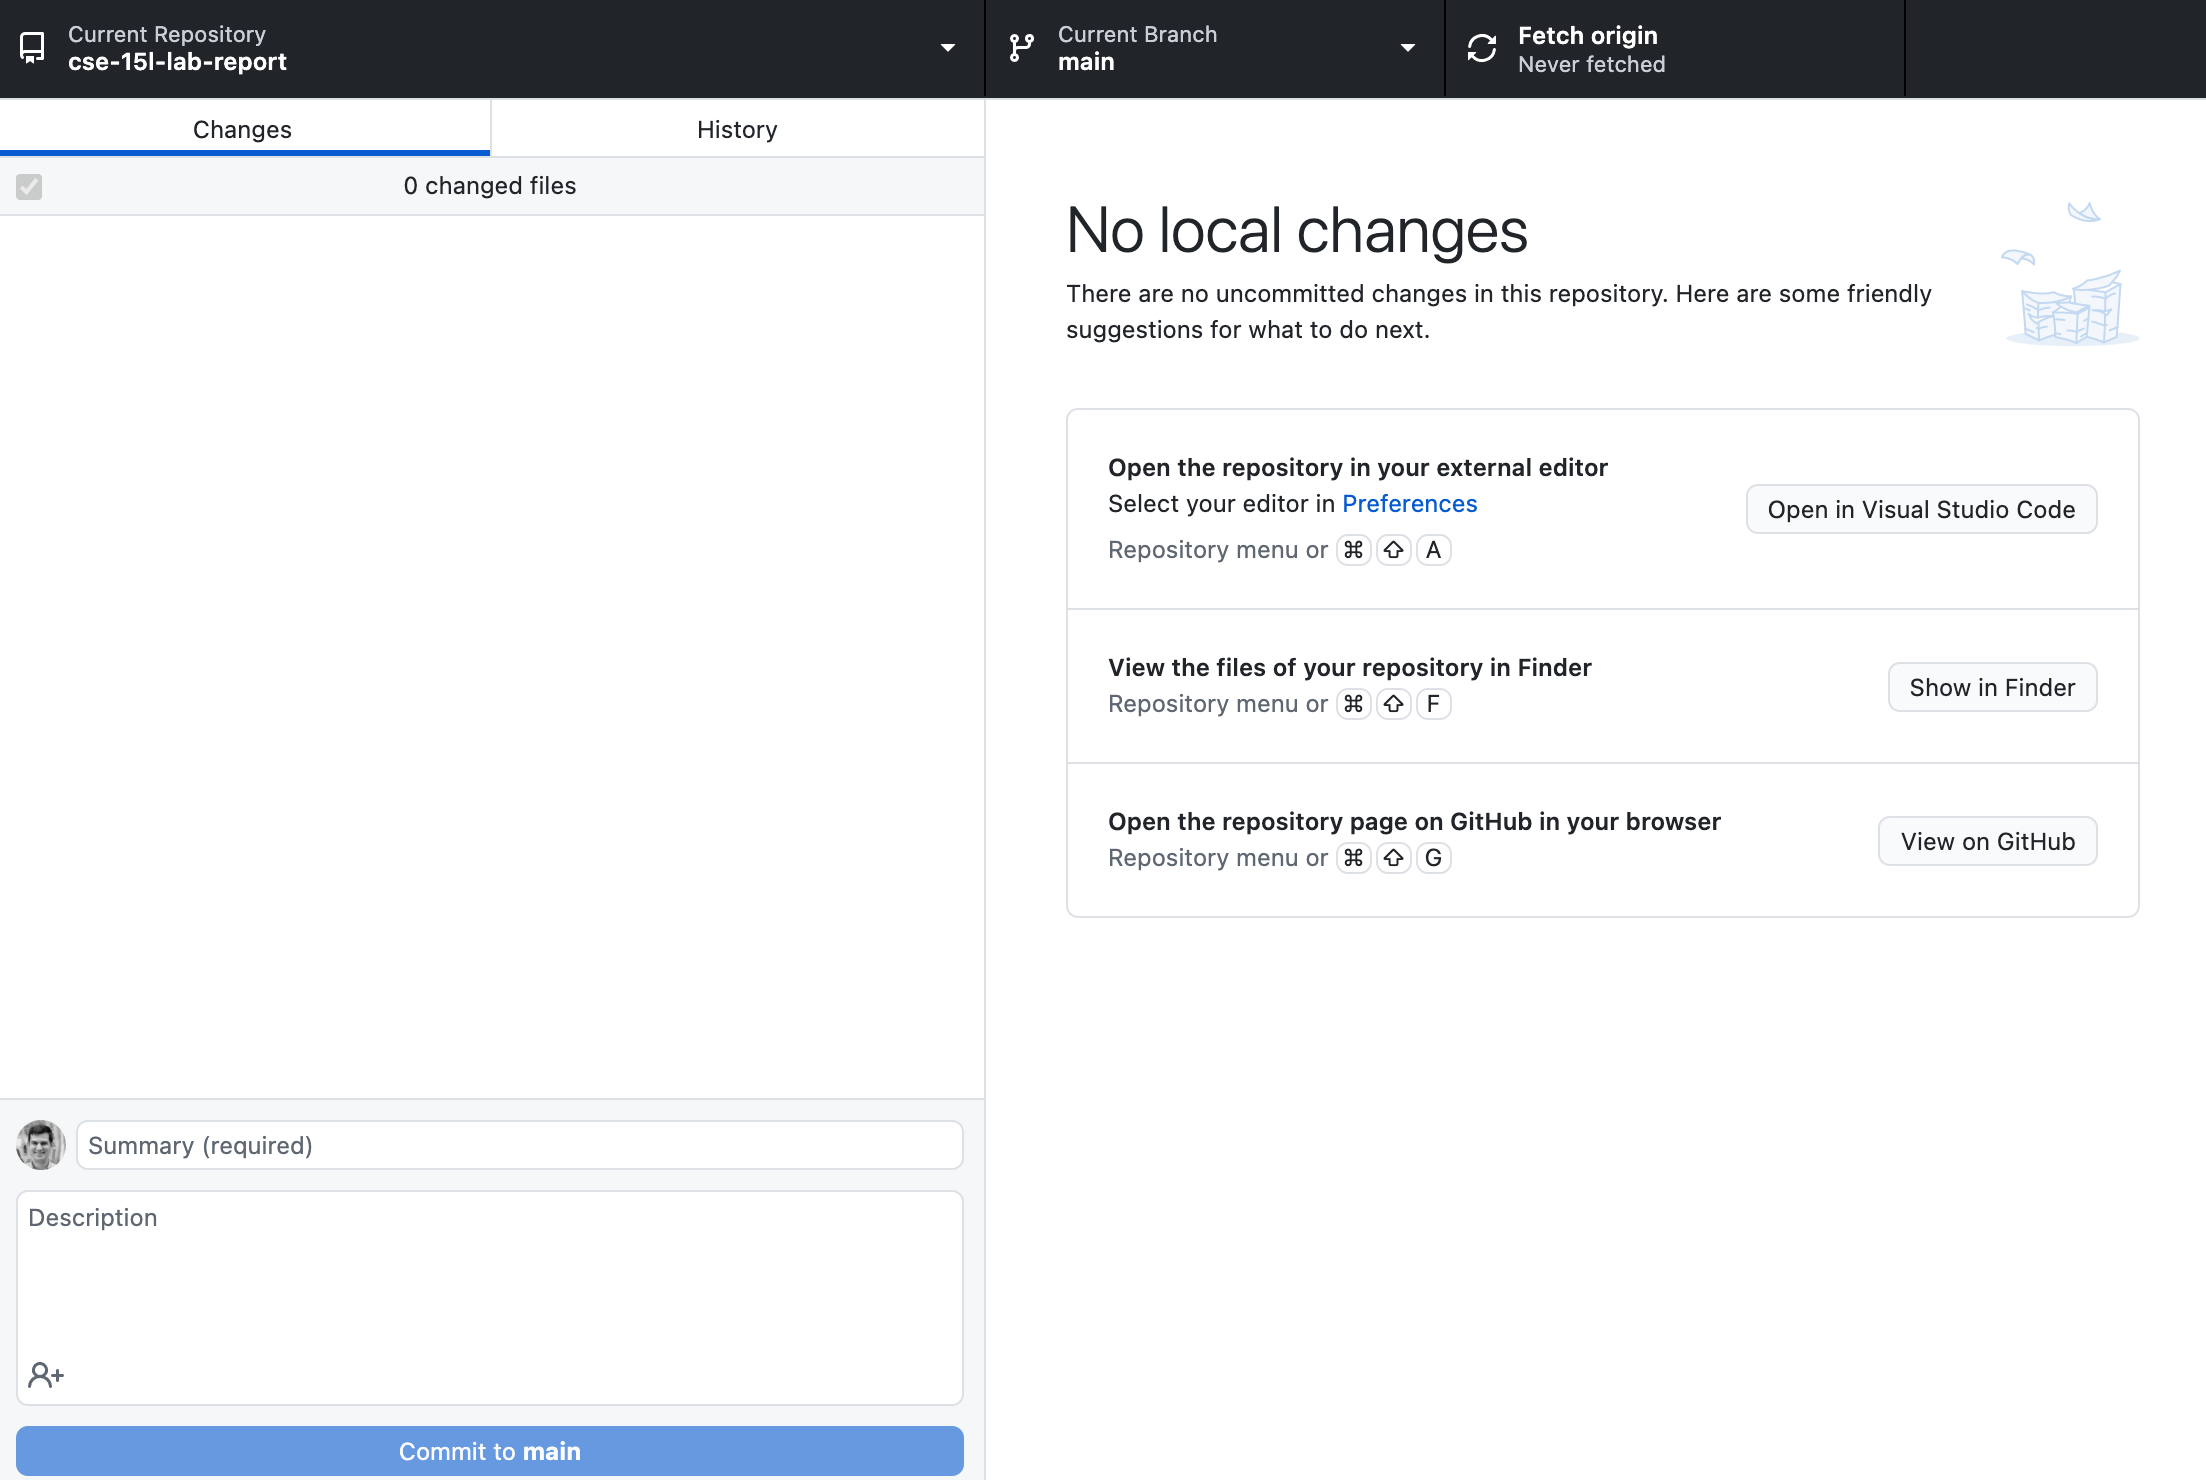
One thing that I often find a little surprising about this page is that it doesn’t list any files – index.md is nowhere to be found here! This is because Github Desktop (and the underlying tool, git) are all about tracking and recording changes; we won’t see much in this interface until we make some edits or create some new files.
Later in the lab, you’ll clone another repository and work with it a bit, so you’ll see how this works.
The URLHandler Interface
There’s a lot that web servers can do. We will start with a small fragment of their behavior that is enough to do interesting work. For now we’ll focus on programs that take a URL as input and respond with the text of a web page. We’ll call the part of the program that does this processing a URLHandler:
interface URLHandler {
  String processRequest(URI uri);
}
We’ll also use a class that takes a URLHandler and starts up the server that listens for incoming connections.
class Server {
  static void start(int port, URLHandler handler) { ... }
}
(Note that it says URI, not URL. There isn’t a meaningful difference between these concepts for our purposes, and all the URIs we work with are also URLs. Java has good documentation on URI. We’ll discuss what a port is below.).
We’ve provided an implementation of a web server that works with this interface here:
https://github.com/ucsd-cse15l-f22/wavelet
Everyone in your group should make a fork of this repository.
The fork button is on the upper right:
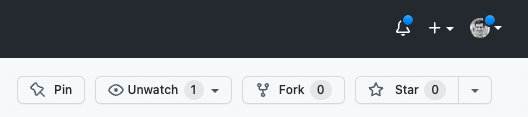
This makes a copy of the repository on in your Github account. Then, clone the repository that you forked (not the original!) using Github Desktop, and open it in Visual Studio Code.
There are two files in this repository:
Server.java– we wrote this and you can treat it as a “black box”, without understanding its details for today. Of course, you’re welcome to read it and ask questions about it, but we might defer your questions to Edstem, office hours, or later to focus on the work specific to this lab.NumberServer.java– this is a program with amainmethod that creates aURLHandlerthat manages a single number, and usesServer.javato start a web server using that handler.
Read through the code in NumberServer.java. Discuss with your partner what you think each line or code block does.
Write down in notes - What questions do you and your partner still have? It’s OK to have open questions at this point! Many will be resolved by the next few sections.
Building and Running the Server
You can build and run the server on your local computer using these two commands, from the working directory of the clone of the repository. It should look like this when it works:
⤇ javac Server.java NumberServer.java
⤇ java NumberServer 4000
Server Started! Visit http://localhost:4000
Then, in a browser on your computer, open http://localhost:4000. You should see something that looks like this:
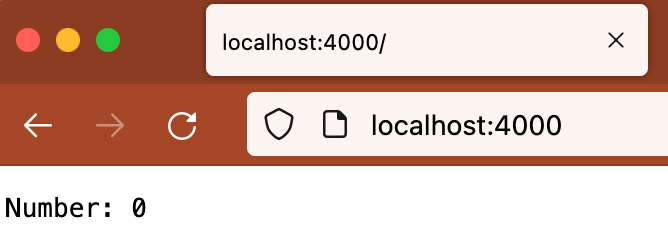
There are a few definitions worth discussing here:
Ports: The
4000above identifies a specific port that the web server runs on. This is an extra part of a URL that’s often used in development;4000isn’t special and you could pick others – you’re welcome to try a few in the thousands; it won’t break anything. Sites on the public web actually use a port as well, either80or443, but your browser hides it from you because it’s the default. You’re welcome to read about these details, but they aren’t necessary to learn the relevant stuff in this lab.Localhost: The
localhostdomain refers to the computer you’re on. So rather than going out over the internet to send the URL to a particular domain somewhere else, this page is being handled by the running Java program on your computer, which we say is “listening” on localhost at port 4000. That work is what’s done inServer.javaand by Java’sHTTPServerlibrary.
It’s also worth pointing out that the terminal will just sit there without letting you type more commands while the server is running: it is in an infinite loop waiting for the next URL request to come in! You can stop the server by pressing Ctrl-c (this works for any terminal command that’s in an infinite loop).
Try out URLs with paths and queries on the running server as described in NumberServer.java. Based on the code, what paths and query combinations do you think will have interesting effects? Try them out!
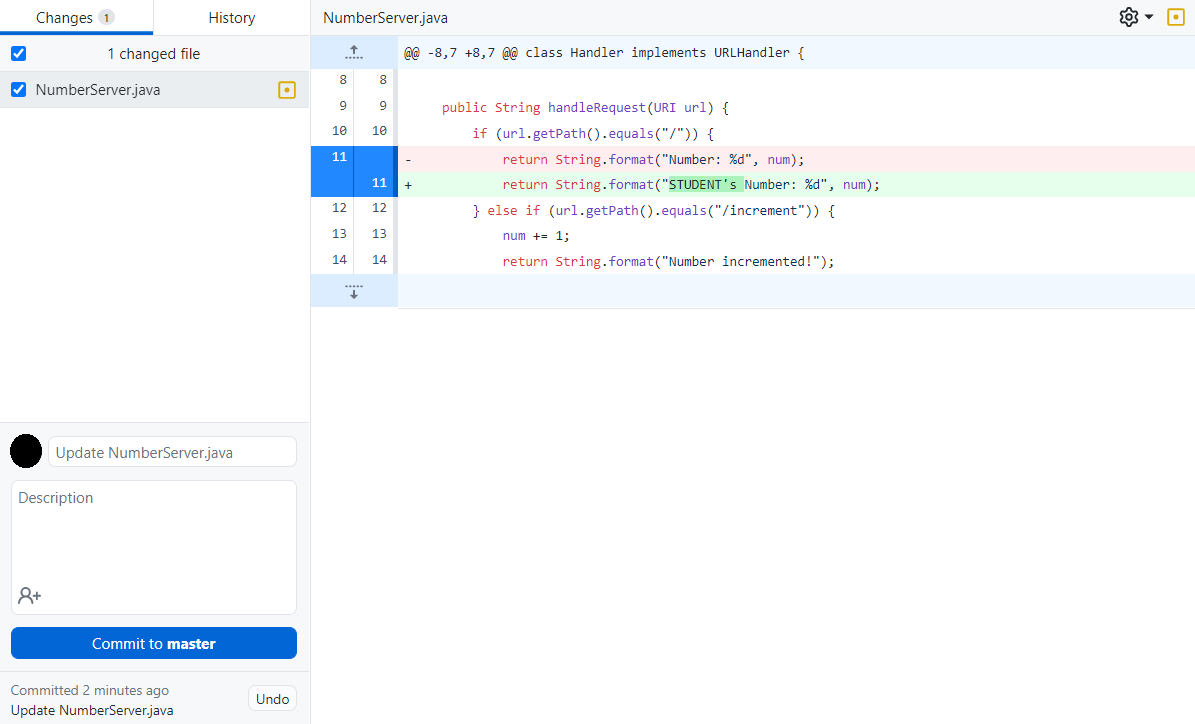
Try editing line 11 of NumberServer.java to include your name before the number is displayed. Example output: [Your Name]’s number: 3
Because we’ve made a new change to our server, we need to restart the server for those changes to be displayed on the web browser. To stop the server, press Ctrl-C, then restart the server by running the same commands as earlier that we used to start it (javac and java commands).
In order for these changes to appear on GitHub, we need to commit and push them. Open your GitHub Desktop window, and it should show that you have made a change in the wavelet respository as seen in the image below. Click the button shown at the bottom left that says Commit to master.
Next, for the changes to actually appear on GitHub, you need to push them. GitHub Desktop should now display a new screen. Click the Push origin button displayed in the screenshot below.
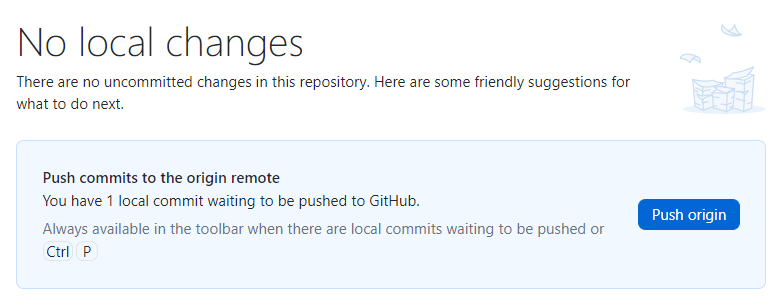
Now your changes to this repository should be visible in GitHub!
Write down in notes – show a screenshot of trying each of the paths that provide a response based on your reading of NumberServer.java. There should be 4: the root path, one for incrementing, one for adding by a specific count, and one that shows an error.
Run the Server on a Remote Computer
Next, log into your course account on ieng6. Then run this command:
git clone <your-repository-url-for-your-fork>
Feel free to ask your lab tutor for help doing this, and there might even be strategies that you can find as a group that make it easier to get the code onto the server! However you do it, make note of how you copied, built, and ran the code. (HINT: Take a look at some of the commands shown in this week’s lecture material for tips on how to copy files over.)
Now, run your web server on ieng6 using the same java and javac commands that you used to run it on your local machine. Note that there are only 3 ieng6 computers (you’ll see that you’ve connected to ieng6-201, ieng6-202, or ieng6-203 in the prompt), which presents a problem – each one only has one port 4000. If multiple people try to use the same port at the same time on the same computer, there will be an error:
[cs15lwi23@ieng6-202]:wavelet:123$ java NumberServer 4000
Exception in thread "main" java.net.BindException: Address already in use
        at sun.nio.ch.Net.bind0(Native Method)
        at sun.nio.ch.Net.bind(Net.java:461)
        at sun.nio.ch.Net.bind(Net.java:453)
So you can’t all use port 4000. If you want something unique for this lab you can use 6000 + the number of the machine you’re sitting in front of if in room B260, and 7000 + that number if in room B270. Or experiment!
The cool thing about running it on these computers is you can access it from other computers! After starting the server, you can load your web page from other places! For example, if you’re on ieng6-201.ucsd.edu running on port 1234, you can open http://ieng6-201.ucsd.edu:1234 from another computer in the lab or your laptop to see the output of the running server (this only works from the UCSD network, so that means you’d need to be on the UCSD-Protected network). Neat – you’ve deployed a web server!
Write down in notes - Take some screenshots of loading your web server running on ieng6, and the commands you used to copy it over and run it. Did people have different strategies?
Write down in notes - Team up with another member of your group that you haven’t worked with yet. Get their server URL and port number, and access their number server on your computer (HINT: You may want to share the URL and port number on your group’s Google Doc). Take a screenshot of your computer loading a webpage of their server, which should show the current number and their name. Was their web server running on the same ieng6 machine as yours? The same port?
Write down in notes – If you have multiple browsers on different computers all incrementing the number on one web server, do they all see one anothers’ increments? As accurately as possible, describe where the number is stored.
Write down in notes - Brainstorm a little bit. Now that you have the ability to make a web server, what are some ideas for other applications you could create? Think about things you could plausibly build with your knowledge of Java plus this server interface. What else might you need to go further?
Accessing URLs from the Command Line with curl
A web browser isn’t the only way to access web pages. There are also commands that can be used to access URLs. One of these commands is called curl. You can use it like this:
curl https://raw.githubusercontent.com/ucsd-cse15l-w23/WhereAmI/main/WhereAmI.java
You could visit that URL in a web browser (to see some Java code from class), or run the curl command from the command line with the URL as an argument. By default curl prints out what it accesses to the terminal.
You can also use curl to load the URLs for the server! It has the same restrictions on access as whatever computer you’re running it from. So that means from the terminal on your local computer, a curl command would load ieng6-20x URLs if you’re connected to UCSD-Protected. But you can also log into an ieng6 server from your terminal and run curl from there, and use that method to test your web server even if your laptop isn’t on UCSD-Protected. Try both things – using curl from your computer’s local terminal and from one logged into ieng6 to access your server.
Keep in mind this might mean you need to open two terminals, one to start the server and one to load the URL.
Write down in notes. Take a screenshot of two terminals, side-by-side, one running the server and one loading a URL it serves via curl.
Make the Simplest “Search Engine”
Make a new file called SearchEngine.java. In it, implement a web server (like NumberServer.java) that tracks a list of strings. It should support a path for adding a new string to the list, and a path for querying the list of strings and returning a list of all strings that have a given substring.
Examples of paths/queries:
/add?s=anewstringtoadd

/add?s=pineapple

/add?s=apple

/search?s=app
(would return pineapple and apple)
Discuss with your partner how you plan to add a new string to the list, query for it, and return a list of all strings with the given substring (as described above).
When you’ve implemented this (and even if you don’t finish), push a copy of your new server to your Github repository; we will use it and improve on it in future labs.
Write down in notes – When you have something you want to share for your search server, share the machine and port with others and try out one another’s servers! Can you have one person add some words that another person searches for? As accurately as possible, describe where each list of strings is stored.